

Surprise! I thought I’d mix things up by working something a little more modern. I picked up a 256GB LED version about a year ago, before all this “AI” bullshit slop jacked up prices, and finally got some time to work on it.
I wanted to upgrade a few things:
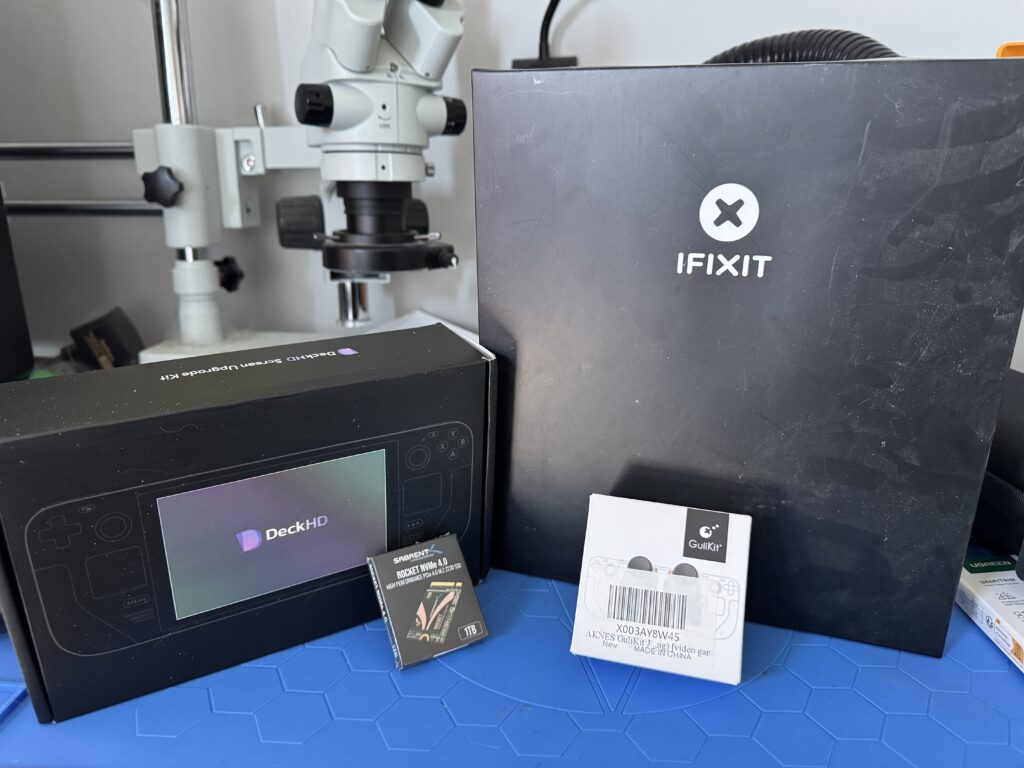
- The screen, using a higher resolution DeckHD unit
- The internal storage (1TB NVMe)
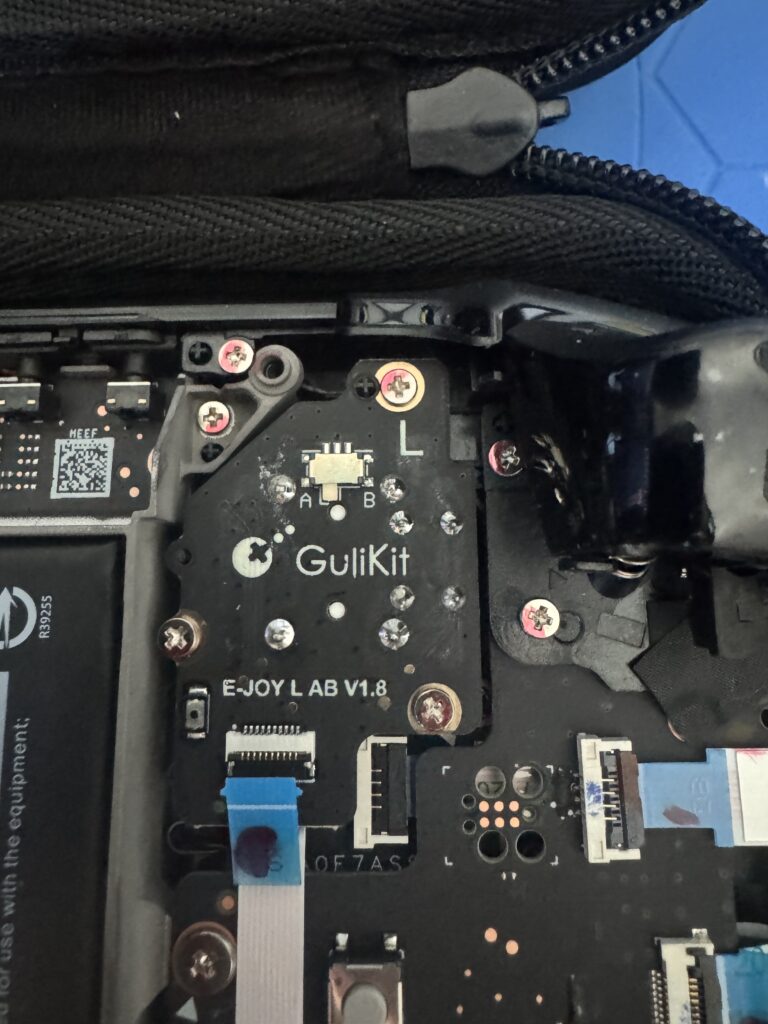
- The control sticks with Hall effect replacements
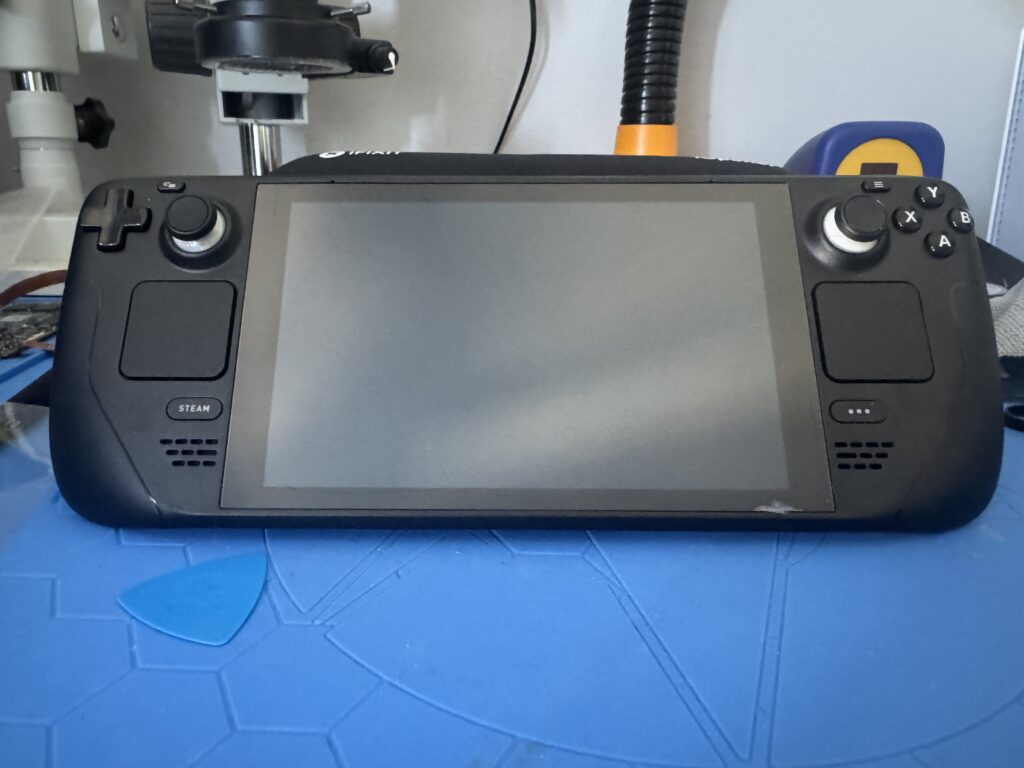
The sticks were easy (Gulikit) but the screen and storage both had some tricky bits. First things first, though. Let’s take a look at the unit!
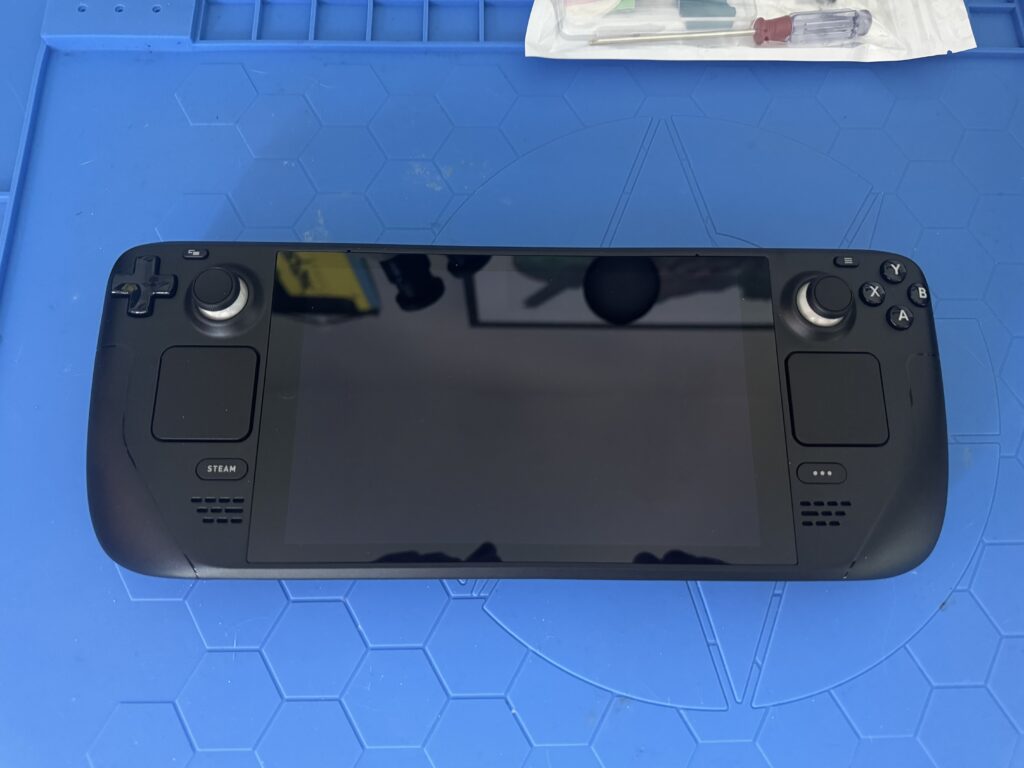
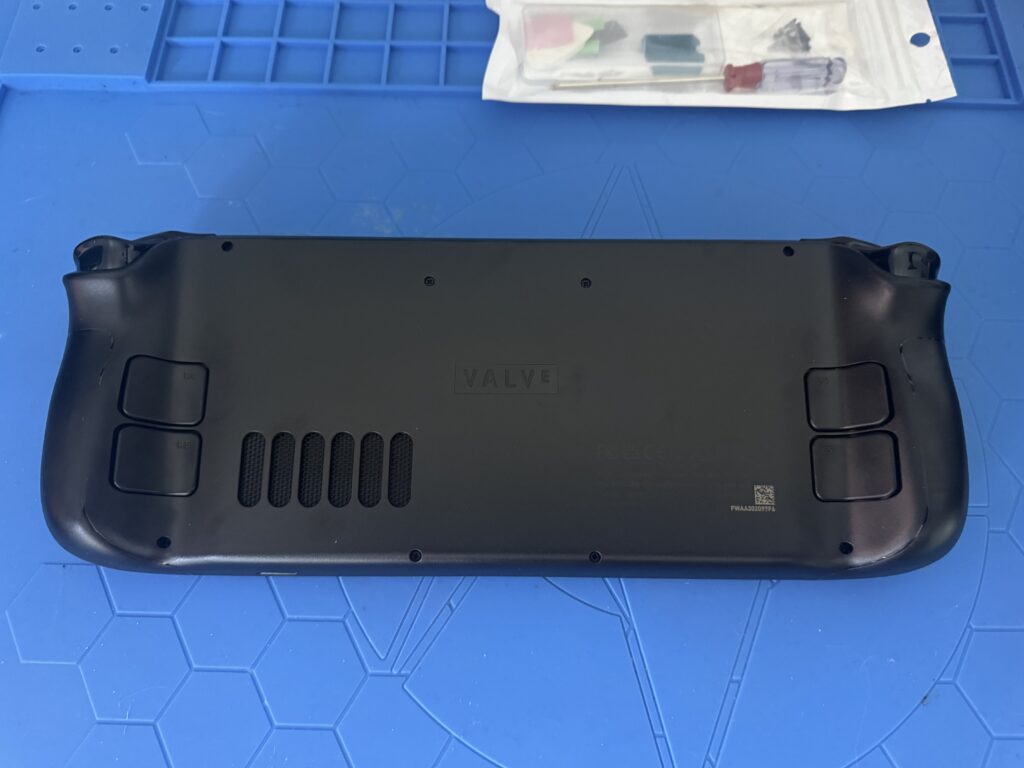
I love the design of this thing. Feels great in the hands and isn’t heavy at all. The internals are also a tinkerer’s dream with easy access to various parts. The case opens easily enough with some careful and liberal use of plastic picks.
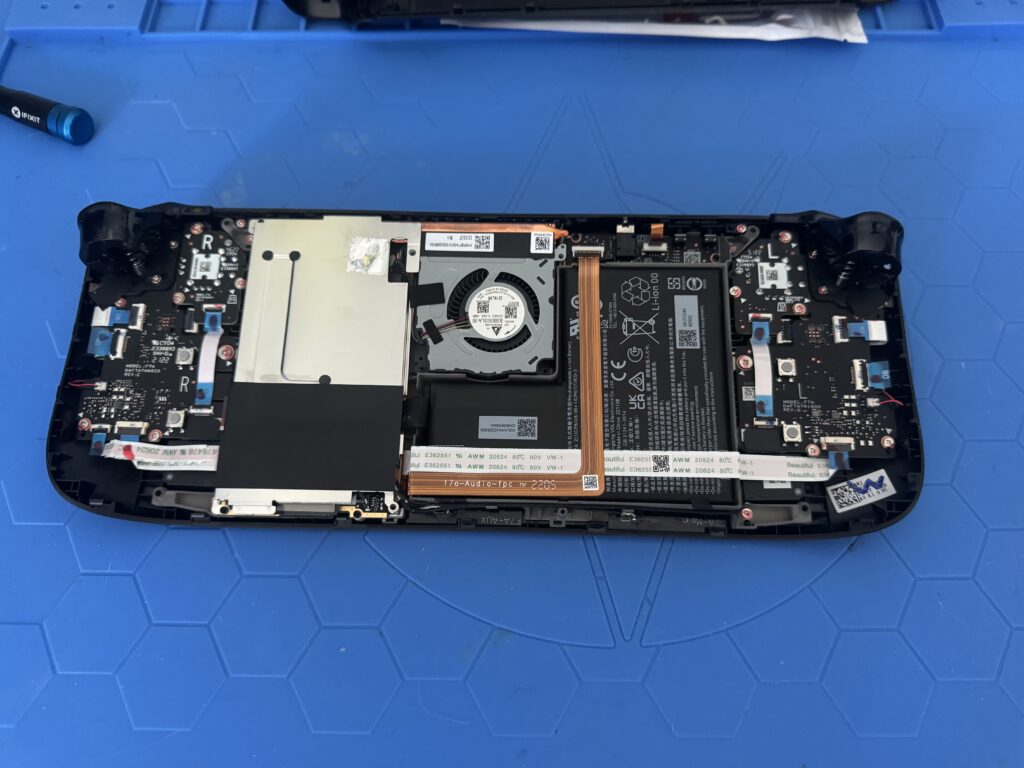
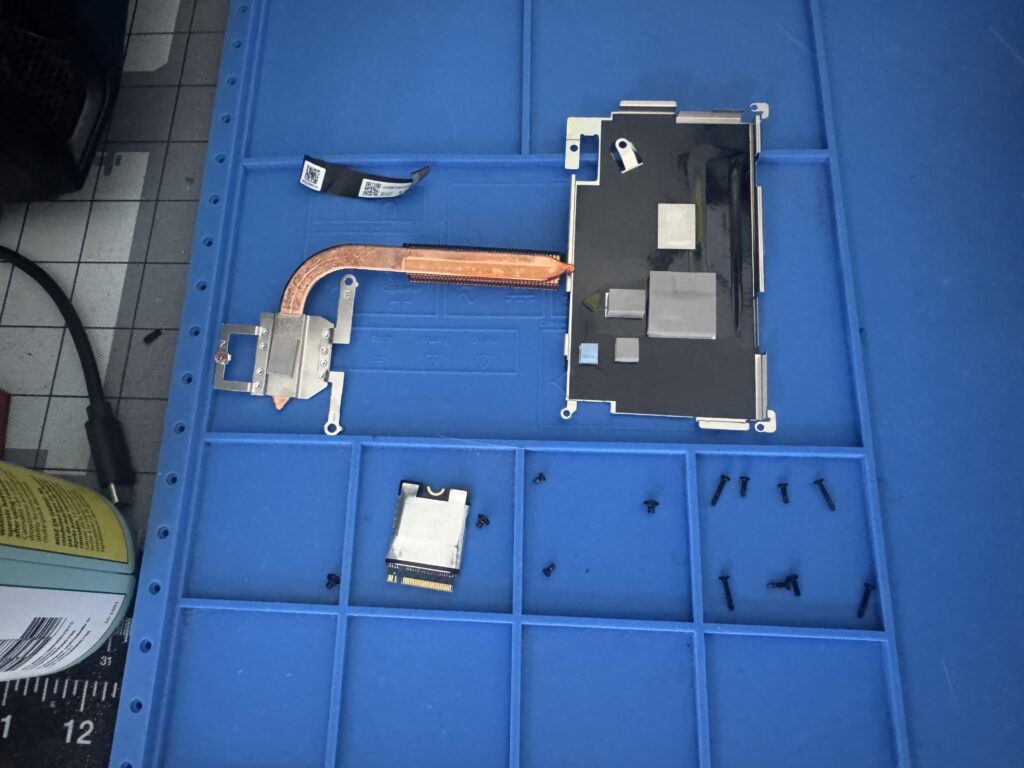
We need to get that metal shielding out of the way, so let’s do it.
Next up is the heatsink. A couple of screws and a little wiggle is all it takes. You can make jokes about “title of your sex tape” here if you like.
Let’s not lose the thing, we need it!
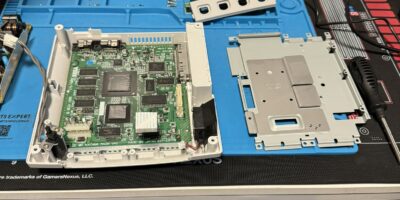
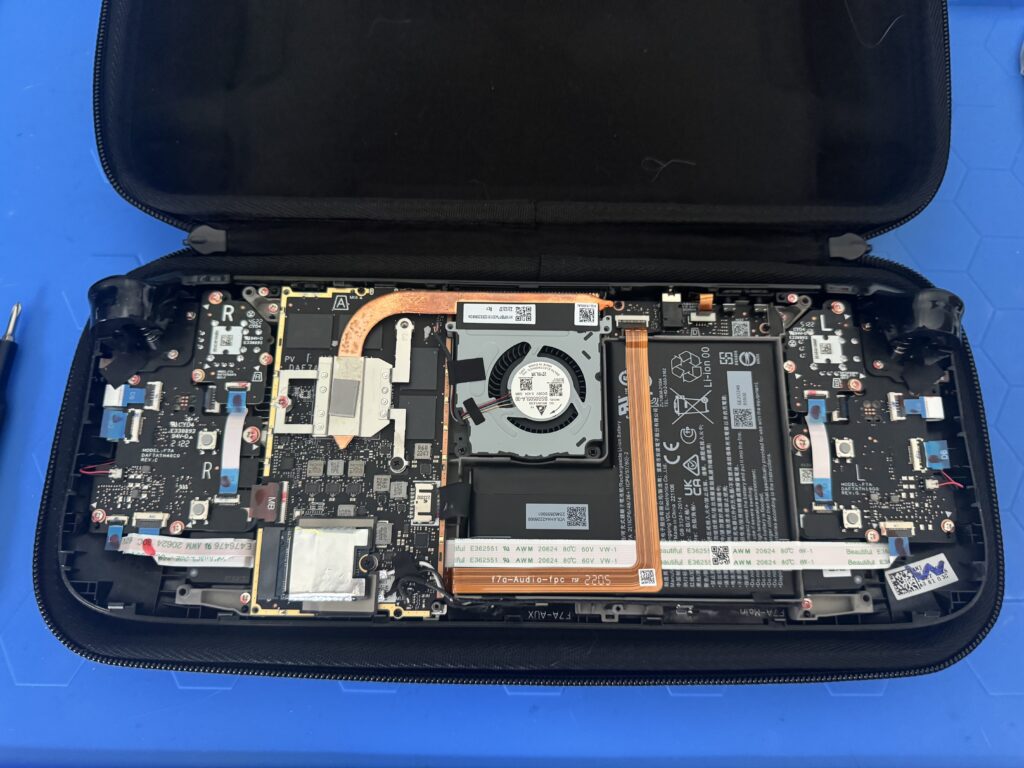
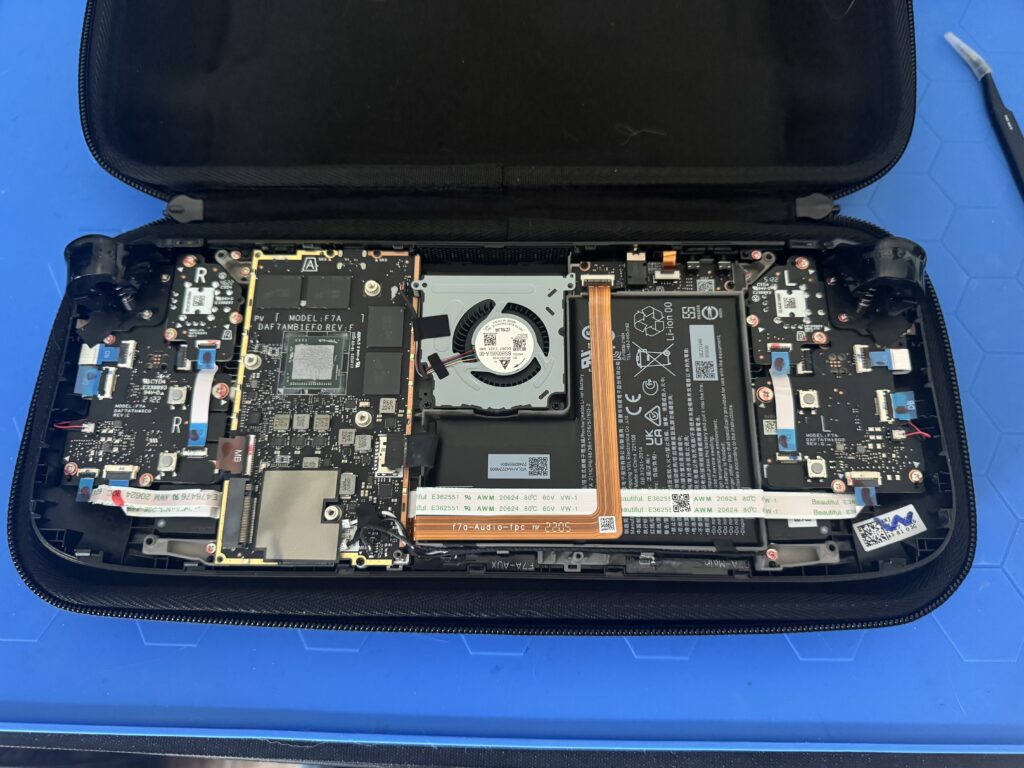
With that done it’s time to disconnect things! The battery, WiFi adapter, controls and display need to be unplugged from the mainboard…
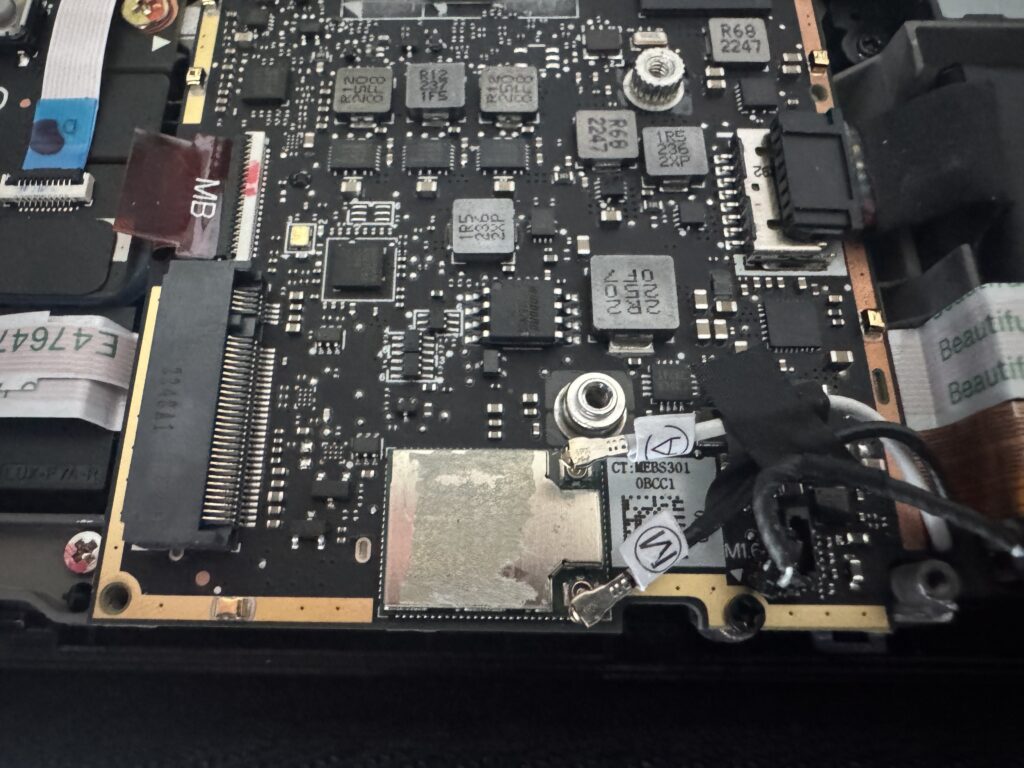
…which we can now remove.

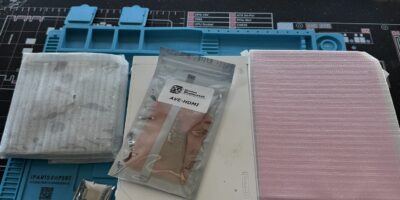
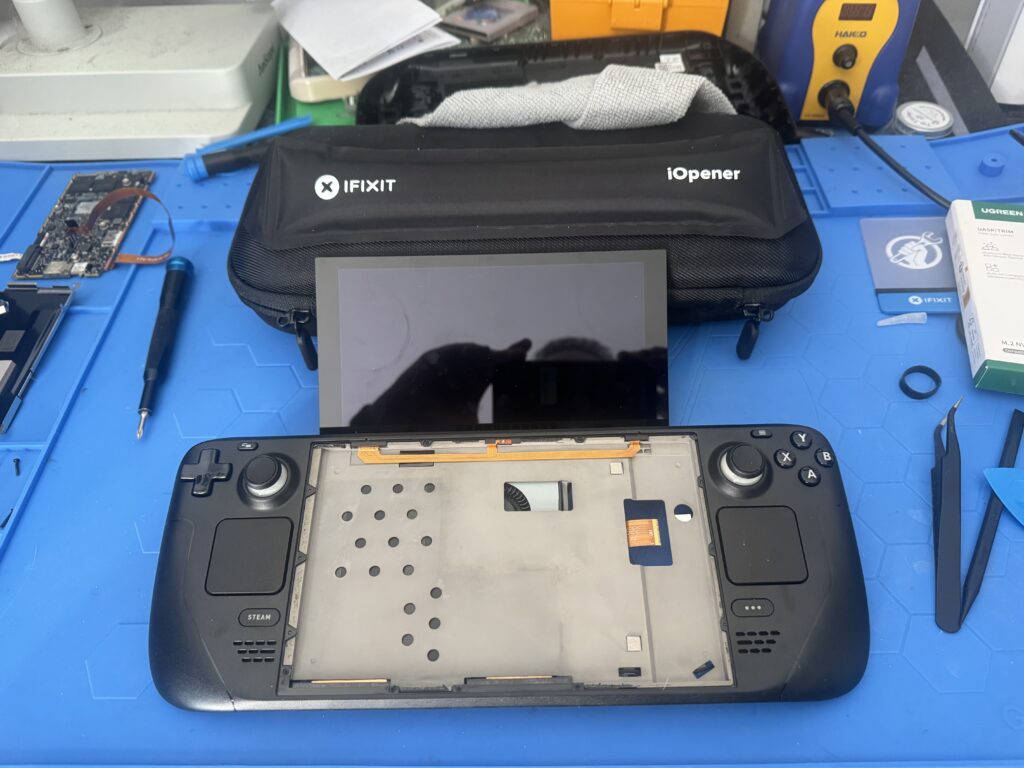
It’s now time to replace the OEM screen with the DeckHD upgrade. I don’t know if you can even get these anymore as their store is broken, which is a real shame. An iFixit iOpener will help with loosening up the screen adhesive.
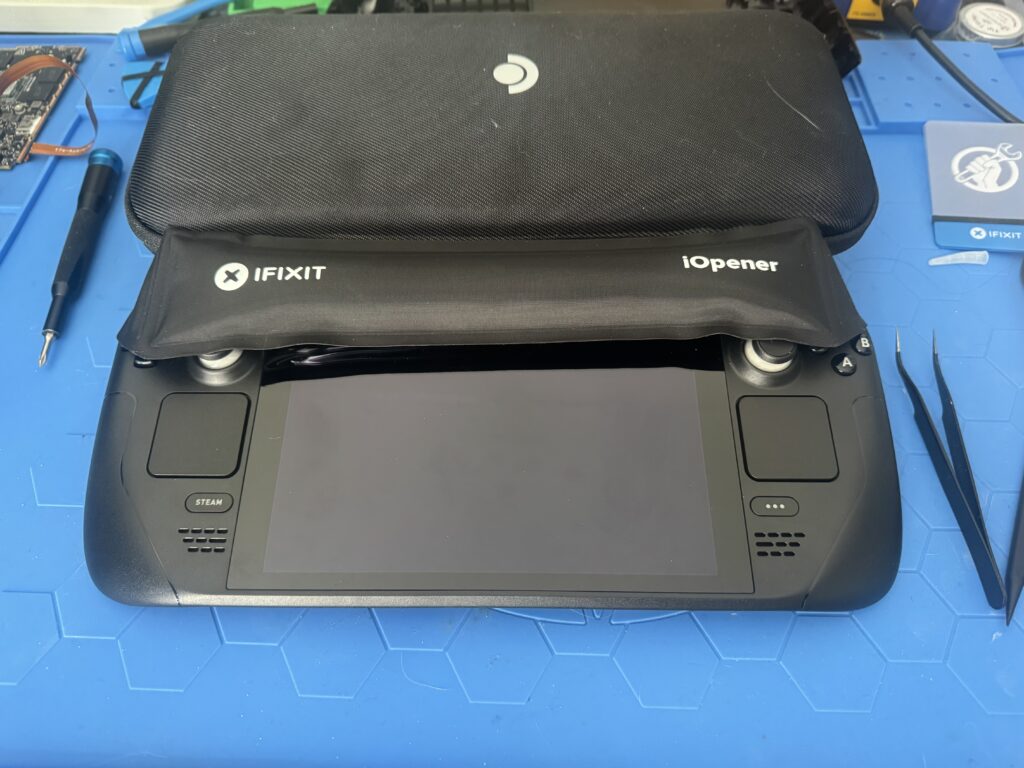
About 10 min and a lot of plastic picks later, the screen is removed!
Let’s take a beat to replace the sticks at this point. Here’s the original left stick:

And here’s the replacement GuliKit Hall effect stick. The quality of the replacements is definitely noticeable straight away.
Now that our sticks are sorted, let’s put the DeckHD screen on!
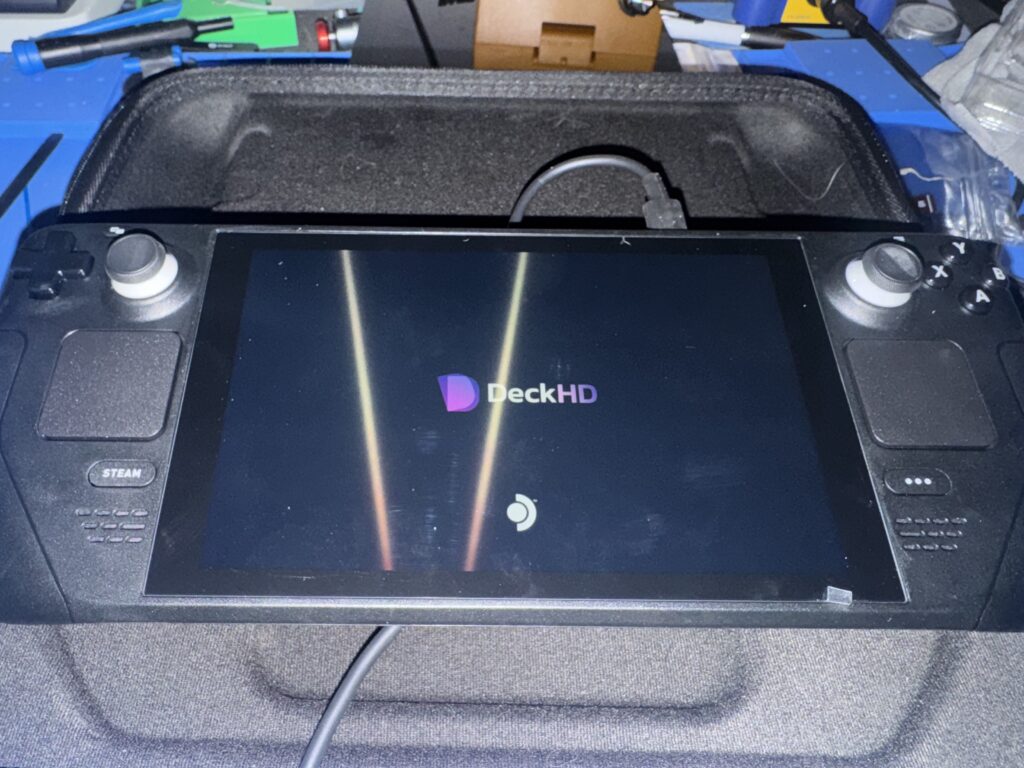
All the hard work is now done. Now we need to clone the storage and get the new 1TB NVMe ready. This bit took about an hour and was done from the command line so I’ll spare you the boring photo. With that done and the Deck booting, we finally have to flash the Deck BIOS so the new screen works properly, easily done by downloading a script in desktop mode and then running it. Let’s check it works now.
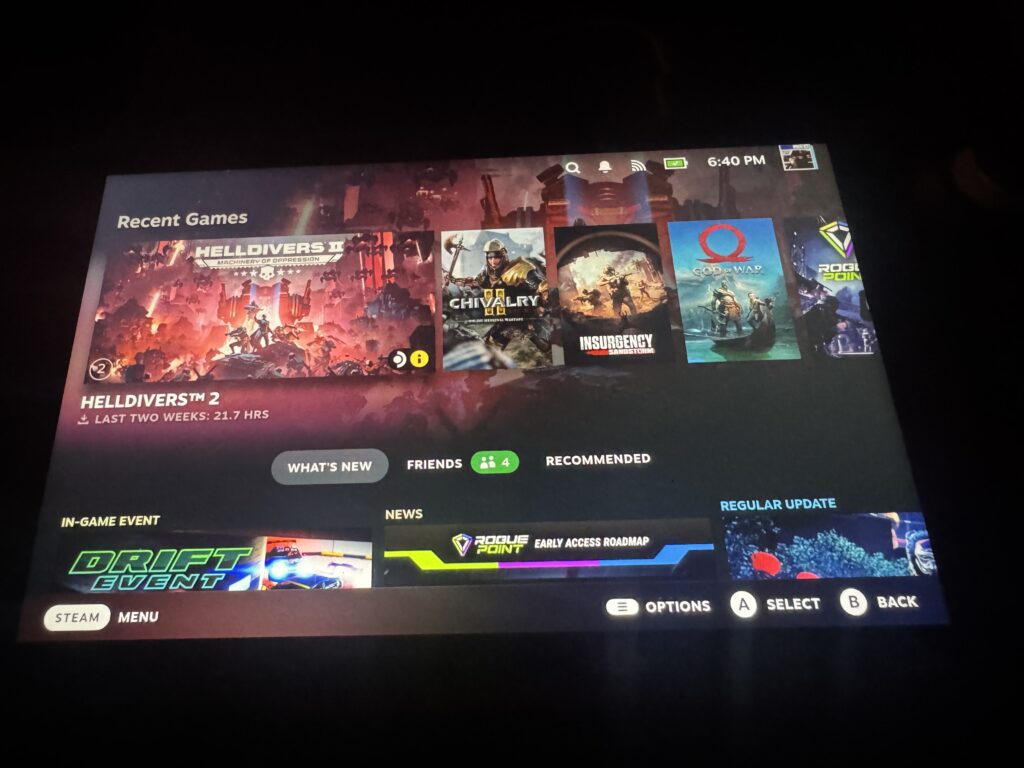
Success! It really does come across as a striking, more vibrant upgrade to the existing screen as the below shot shows:
What now? Time to play games and stuff on it with EmuDeck as well!
Leave a Reply